Making Solid shading as WYSIWYG as possible
When working on a 3D scene you usually want some way of seeing what things will eventually look like when rendered with your engine of choice (usually some form of path tracer). In the past it used to be too costly to run such engines live in the viewport, so the best you could get was some kind of rasterized solid shading that can optionally approximate the scene lighting to some degree.
This is less of a problem with the hardware of today, but path tracers can still be quite expensive to run at an interactive rate once your scenes or materials get complex enough (which they inevitably will get - 3D artists tend expand their scenes to fill the available hardware) - so we still need a lightweight way to view our scenes while we work on them.
While Blender's EEVEE can act as a preview of your scene's material and lighting, it will never quite match the output of a path tracer. Plus, the new version of EEVEE (added in 4.2) can be heavy to run on older hardware like my current machine. Because of that, this post will be focusing on making Blender's solid shading look as nice as possible.
But first, a Look into the Past
Before Cycles, blender only shipped with its internal renderer, which used your CPU to render the final images. The viewport was limited to two solid shading modes: "OpenGL solid" which is equivalent to the solid shading we have today, and the "Shaded solid" which evaluated material and lights per-vertex, giving you some sense of the lighting.
One notable thing about the OpenGL solid shading (which I'll refer to as just solid shading from now on) is that you still see the colors of the various materials that aren't using a texture. This was possible because materials only had one unambiguous "Color" property that defined their base color. In fact, the solid shading of early blender would also show you how specular (shiny) the material is, the specular color, reflectivity and even emission to some degree.
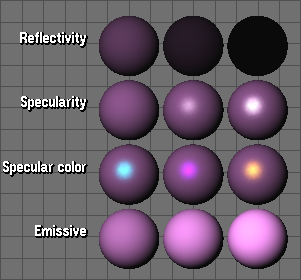
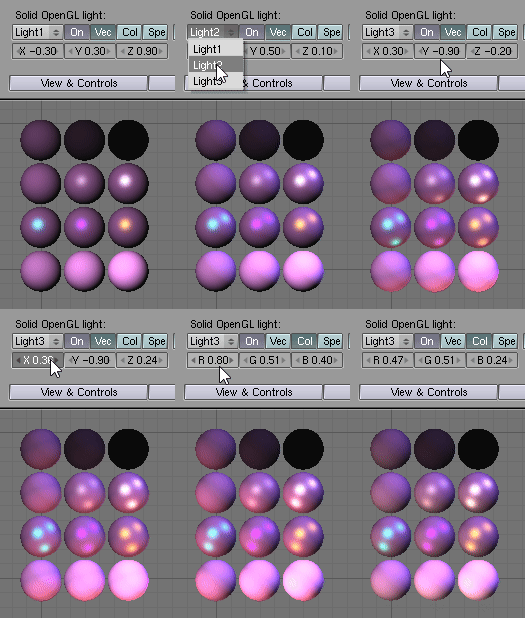
Solid shading got a major upgrade in 2.30, letting you use up to 3 OpenGL light sources with customizable direction and colors for both diffuse and specular. The next upgrade would come in 2.80 which let you use up to 4 lights, plus some other things I'll mention later...
However, the direct mapping of a material's base color to the color you see in solid shading started getting lost once materials could be defined using nodes, not just for Cycles but also Blender internal's node system. And it was already missing for materials that used textures to drive the base color.
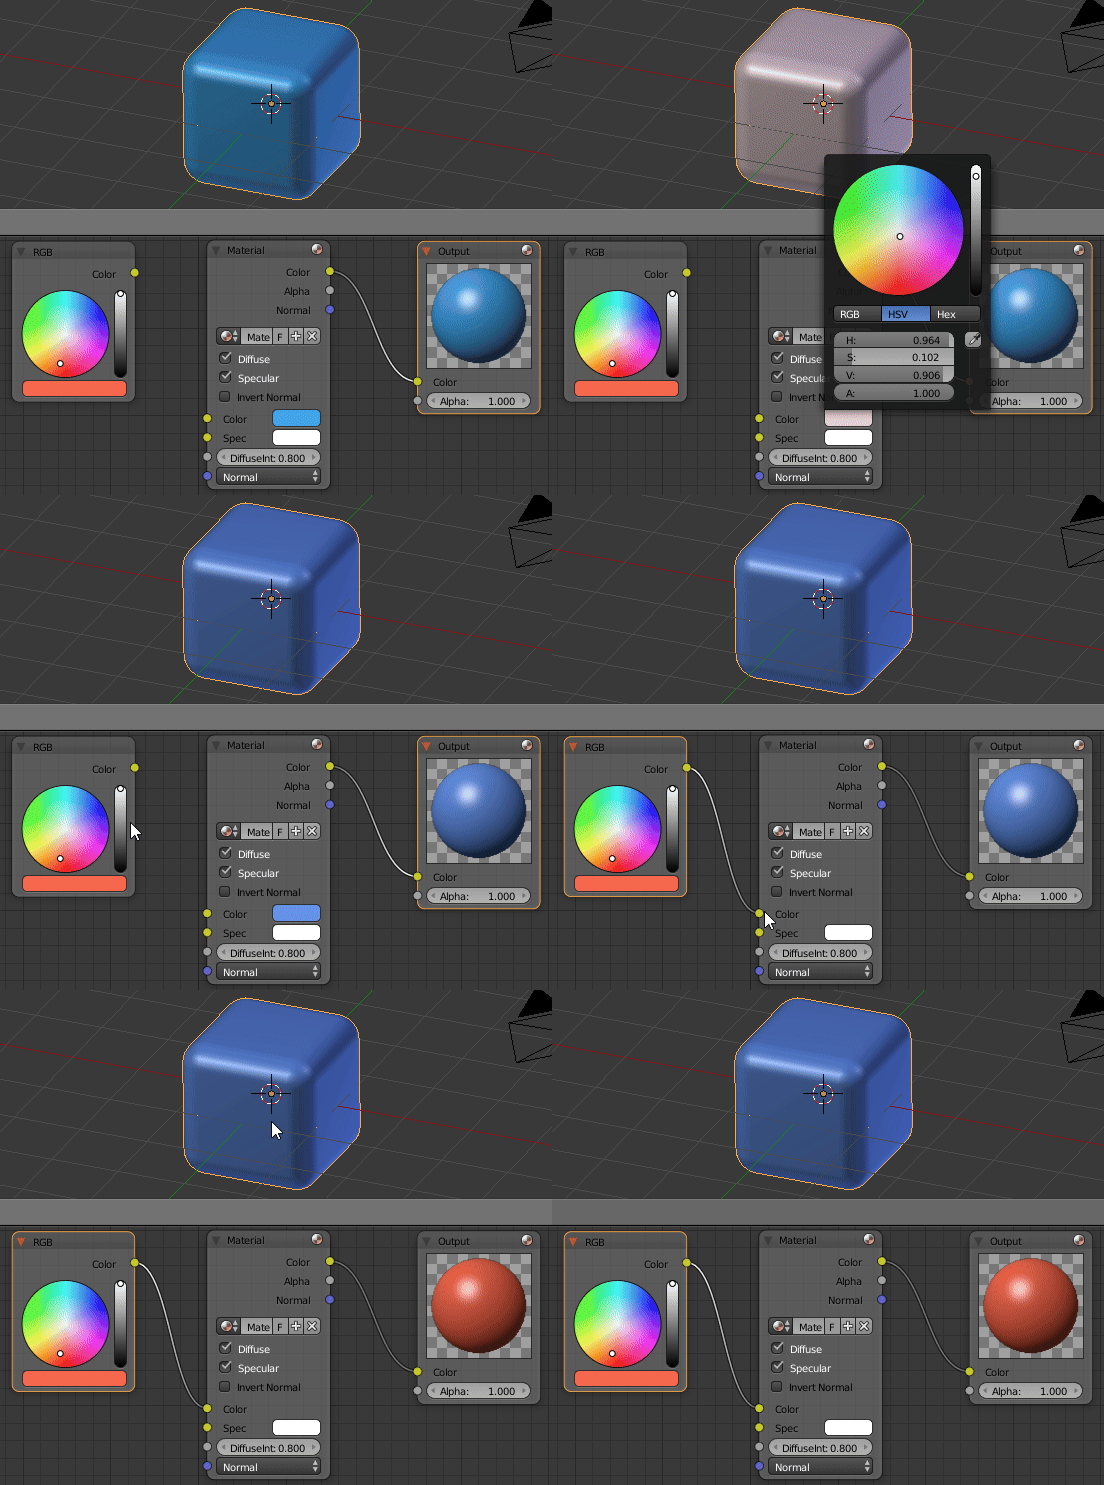
Because of this, the solid shading you see in blender today is doomed to forever show all objects as neutral gray, making it hard to tell what material was assigned to what without having to use the Heavy Expensive Render Engines...
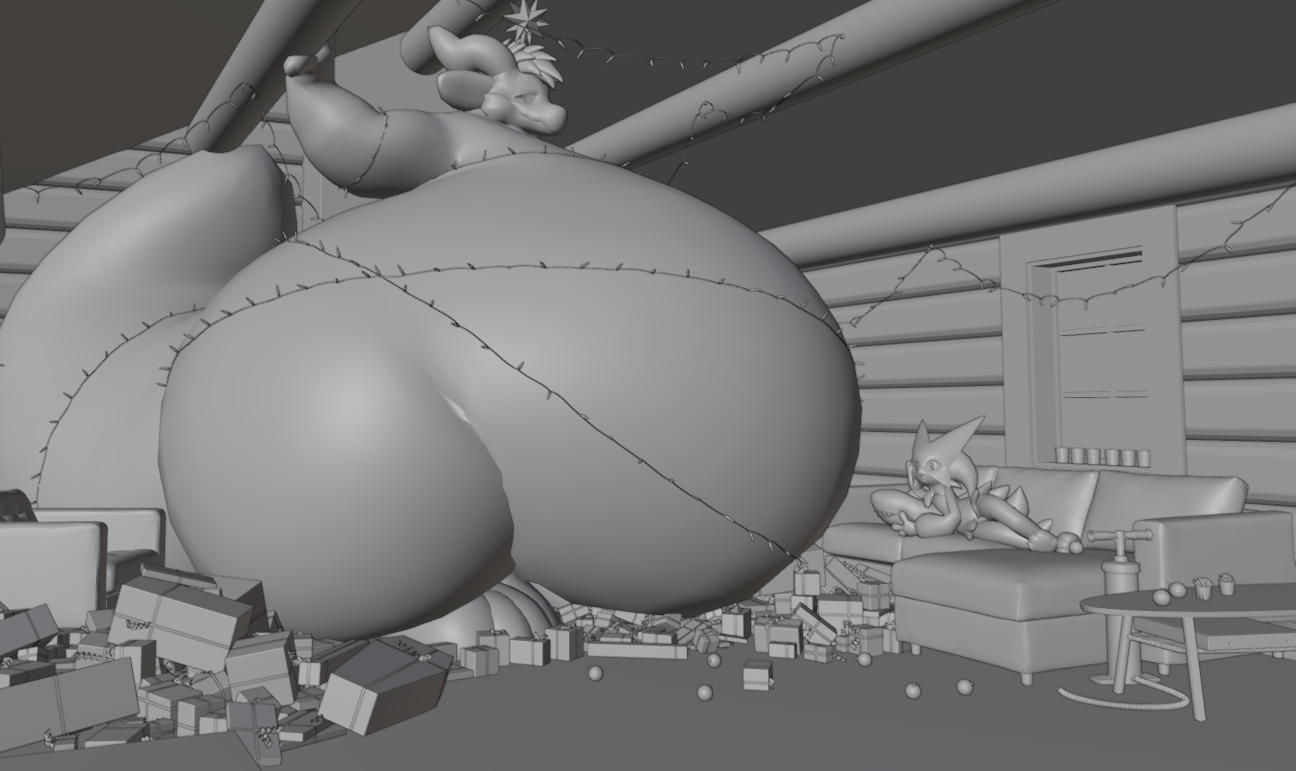
Except Not, Actually
In the same way you can control the appearance of an object in the viewport by changing its draw mode to wire or bounds, you can also change how a material appears in solid shading by changing the settings you find in the Viewport Display panel in the material properties.
In there you can adjust color+alpha, metallic and roughness. Not a lot of properties, but enough to make a material appear closer to the real thing than just a boring gray. Emissive materials can be cheated by setting the color value higher than 1. Transparent materials can be made actually transparent simply by lowering the alpha, and another trick is to use metallic and overdrive the color value to make them really pop.
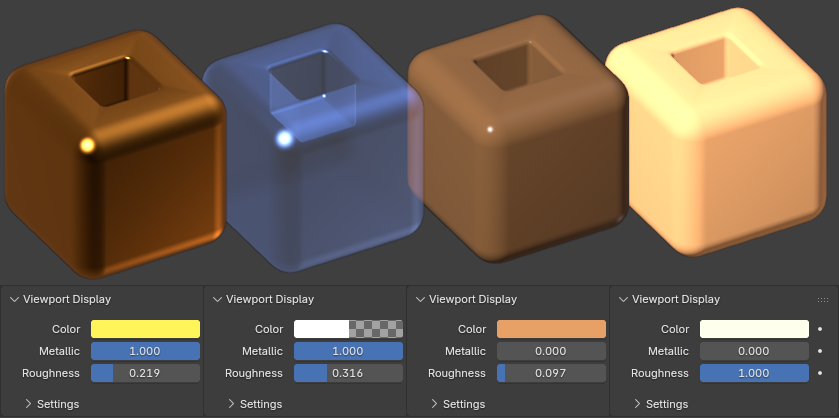
Sure, it can be a bit time consuming to define viewport display parameters for all your materials, but at least setting the color to something different than the default will instantly make it possible to tell materials apart even in solid shading.
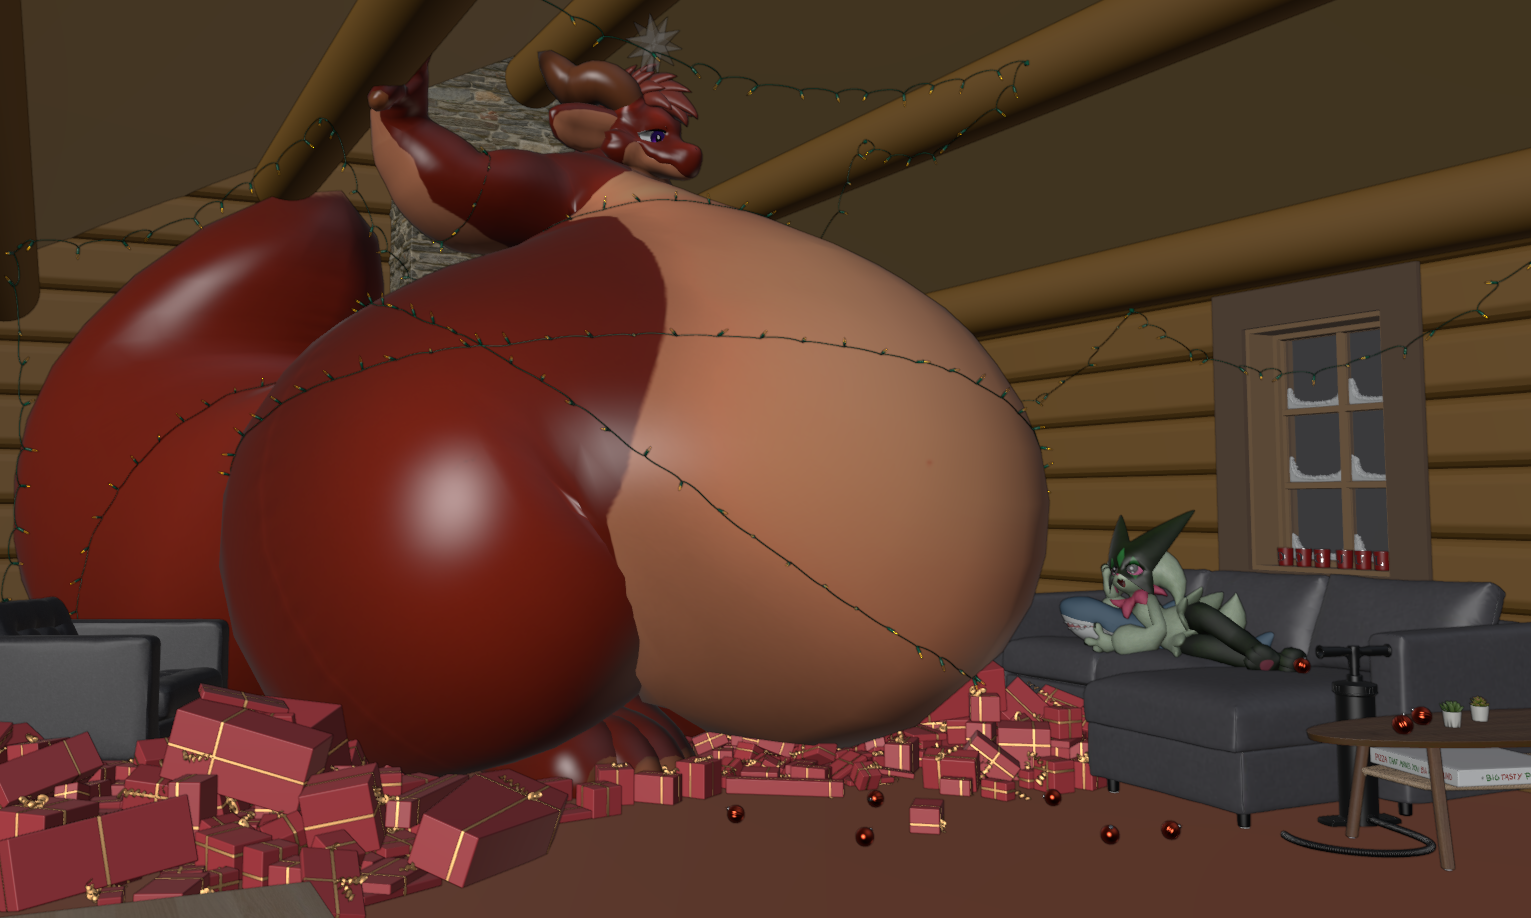
Solid shading can also show us the active image texture node in a material, and will fall back to the viewport display color for materials without any image texture nodes or if a procedural texture node is active. All in all, textures plus viewport display colors will give you a much more comfortable view of your scene that's still blazing fast to work in.
The Lighting Thing
We now know that solid shading can be both colorful and textured, but the one missing thing is lighting. While we could change the three OpenGL lights ever since 2.30, those were part of your blender settings, so you usually didn't want to mess with them. 2.80 fixed that by replacing those settings with a set of "studio lights", giving you five presets to begin with (and later adding a sixth one for vertex painting workflows)
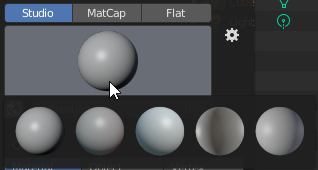
But the coolest part is that you can create as many studio light presets as you want. Simply hit that cog and you are provided with a studio light editor. You can set the diffuse and specular colors as well as light directions just like in 2.30, but you also have a smooth slider that let you soften the light, giving you a lot of flexibility for recreating various lighting situations.
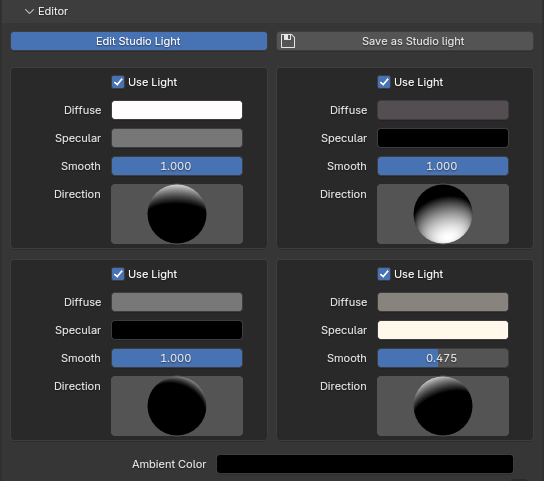
Some studiolight examples
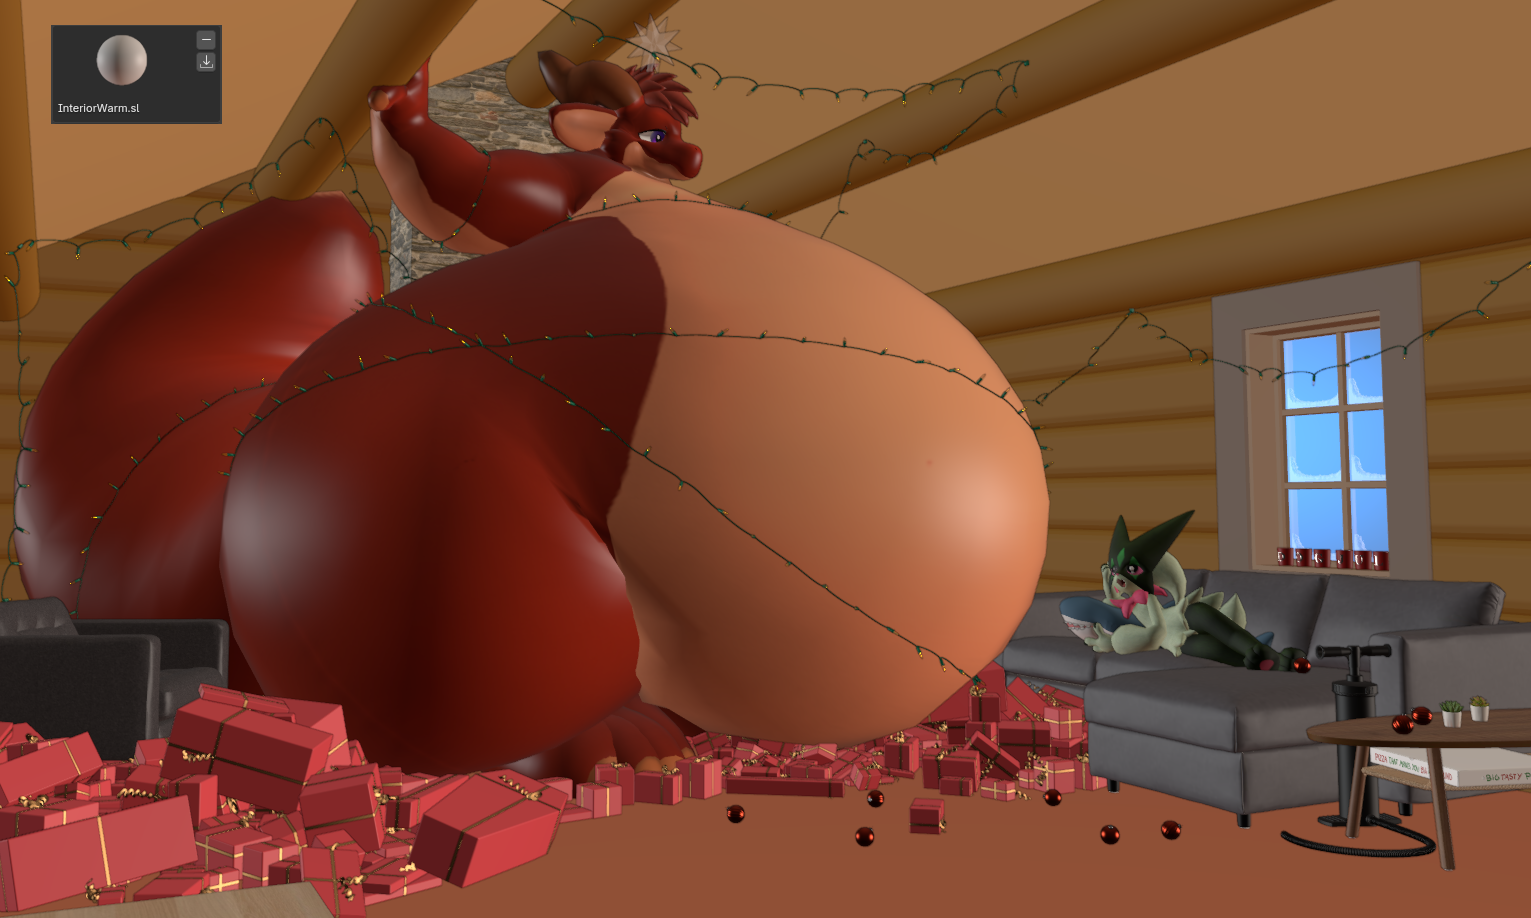
I sometimes make indoor scenes with warm lighting, so the first studiolight I wanted to try making was one that could work for indoor scenes lit mostly from the sides: InteriorWarm.sl
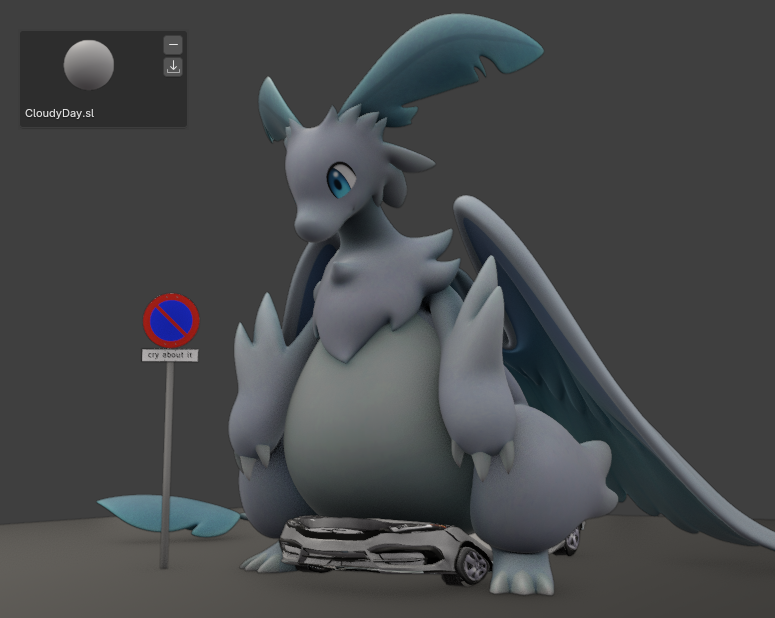
Another common lighting situation is an overcast day. That one is really easy to make by maxing out the smooth sliders: CloudyDay.sl. Cavity is also something you can turn on in solid shading to get nice screenspace AO.
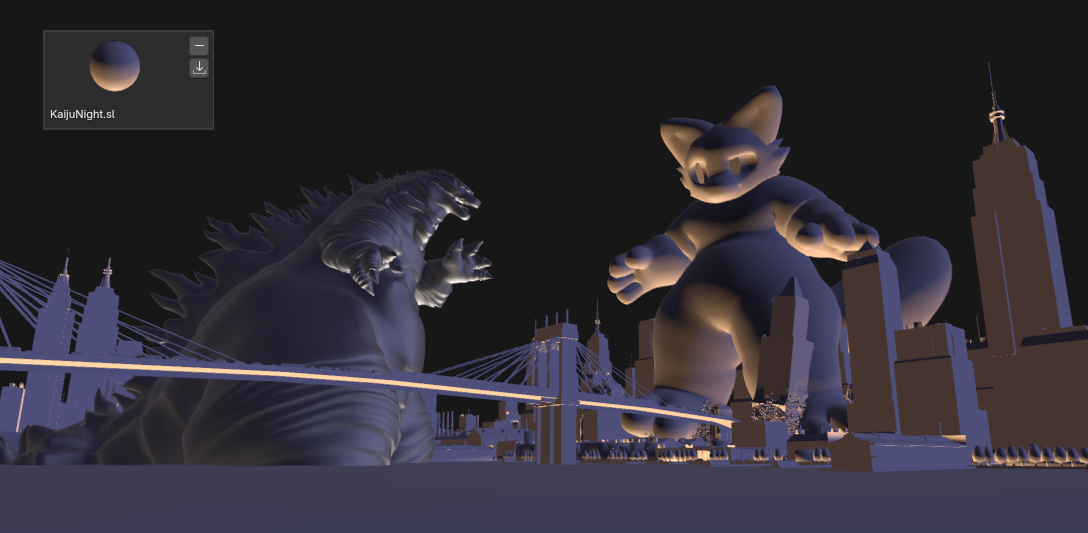
I often make night time scenes with big kaijus on a city lit by the city lights from below, so I needed a studiolight appropriate for those situations: KaijuNight.sl
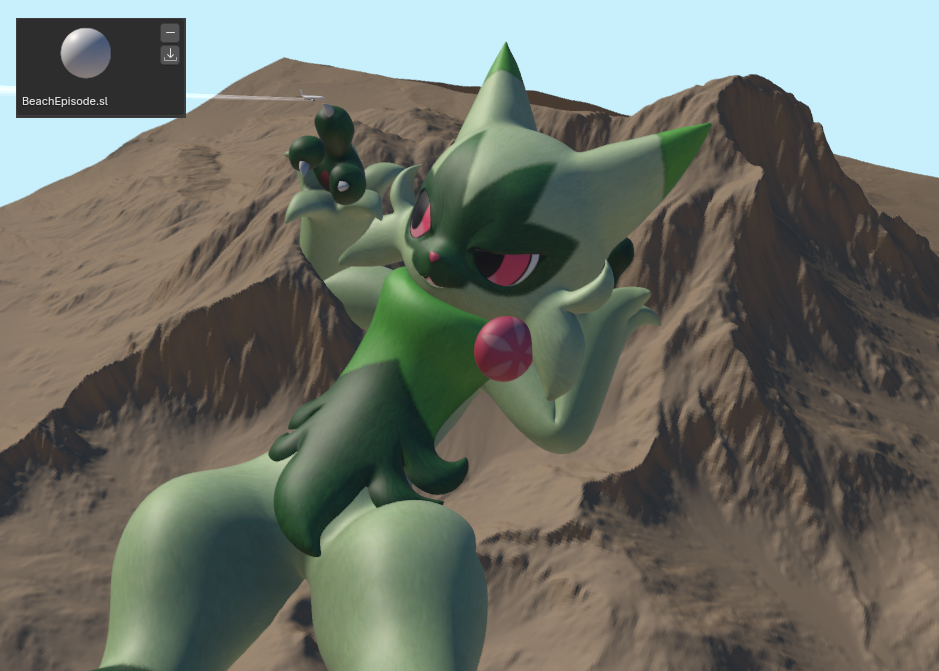
Lastly, I made one for bright sunny days on the beach, though the specular can sometimes be overpowering with this one: BeachEpisode.sl
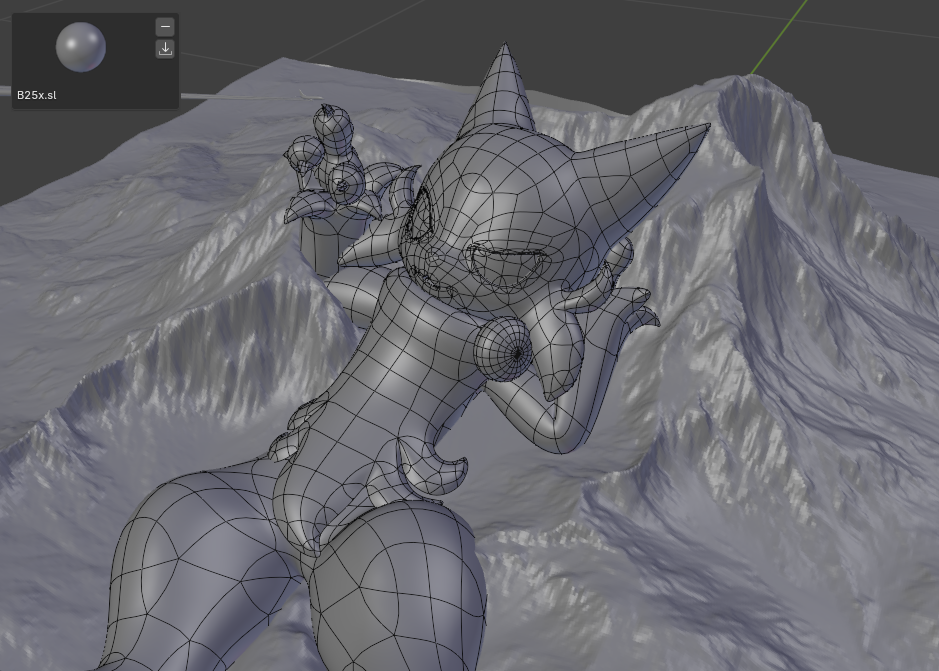
Of course, nobody is stopping you from recreating the lighting from Blender 2.5x-2.7x's solid shading. It won't be an exact match as the light falloff is different, but it's close enough: B25x.sl
Closing thoughts
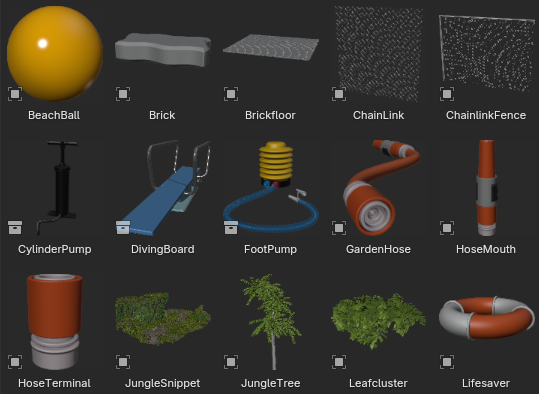
The takeaway here is that you can make your life in solid shading a lot more cheerful than you might expect. You can configure your materials' viewport display settings to approximately match what they look like when actually rendered, and this is best done as soon as you make the material, and ideally before you store it in your own asset library, as this will make the autogenerated thumbnails colorful too!
I kinda glossed over some things like solid shading having an option to show shadows, and only briefly mentioned cavity. But those are things you probably already know about, and I really need to get something to eat so bye