my 3D journey or: Cornell Boxes - I Just Think They're Neat!
Originally posted on Cohost: 2023-08-26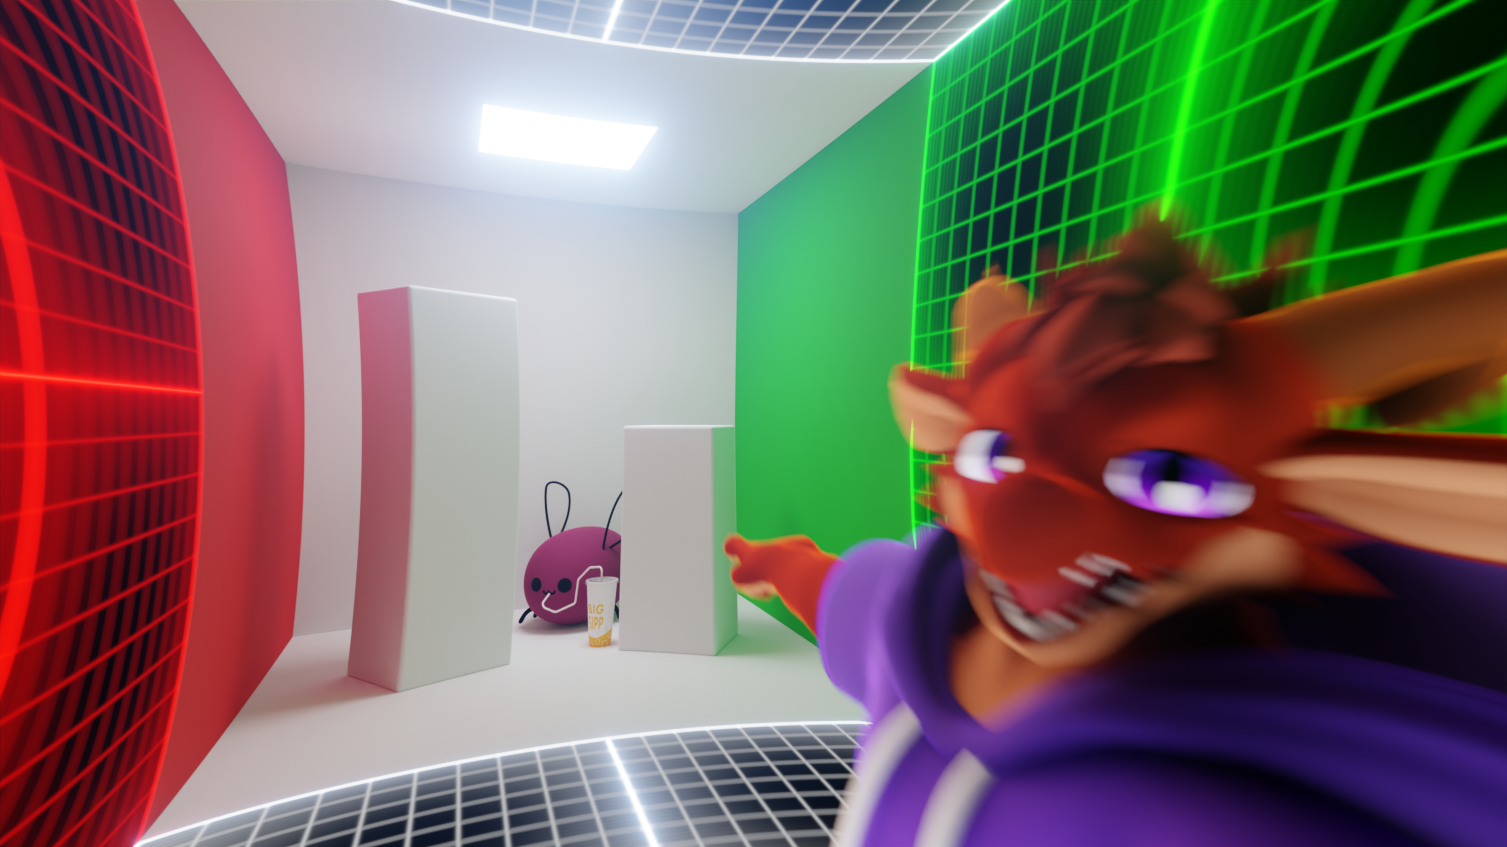
Ever since I started with 3D back in 2008, I was fascinated by 3D rendered pictures that looked Actually Real, because they had actual lighting and shadows and stuff™. It would be a while (4 years at least) before I too could achieve such feats of computer graphics.
This post tells the story of how I got into 3D, with some cornell boxes for flavor.
The main reason I first got into 3D was because of a desktop application called "Google Earth": it would let you zoom in on real places from the comfort of your own desktop, and you'd get to see gray box buildings with the occasional colored or textured 3D model of a landmark or two. The way to get such models into Google Earth was to make and upload them from a little program named "Google SketchUp".
the SketchUp age (2008-2016)
SketchUp (or at least the free version back then) was a relatively simple 3D program geared towards architecture and hobbyists wanting to Sketch Up (get it?) projects in 3D before building them in wood, that sorta stuff. A lot of the nasty intricacies of 3D modeling were abstracted away, so you can think SketchUp as a "MS Paint" of 3D software: easy to use, but limited in functionality (we'll ignore Paint 3D here).
Anyways, back to the topic of rendering. SketchUp couldn't do any pretty rendering by itself, and was limited by what the viewport could produce: simple shading with the ability to turn on hard shadows from an imaginary sun. You were never going to get anything photorealistic out of SketchUp itself, but that's where rendering plug-ins and separate rendering software comes in.
the Kerkythea age (2012-2016)
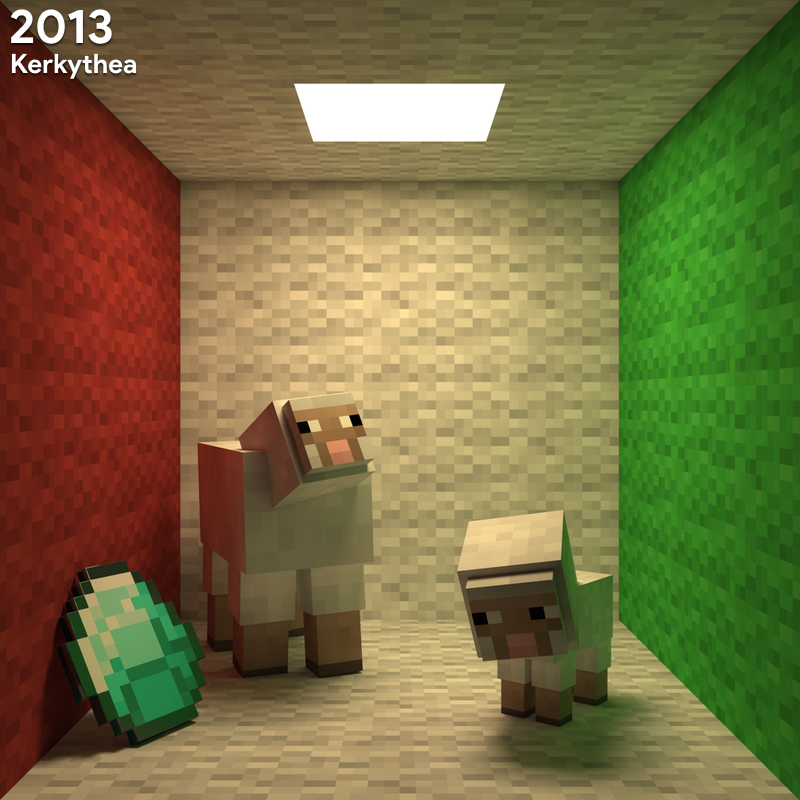
Kerkythea was one such rendering program that came with a SketchUp exporter plugin. The fact that Kerkythea was free is probably why I started using it, and it was a pretty good deal: Kerkythea offered both biased (faster but inaccurate) and unbiased (slower but more accurate given enough time) rendering algorithms. Though, since this was software from 2008, everything ran on the CPU so it wasn't exactly blazing fast on my 2009-ish laptop running Vista.
For the first year of using Kerkythea I exclusively rendered pictures with the biased ray tracing methods, because those would just need one "go" across the image and then it was finished. In comparison, unbiased methods like Path Tracing would look completely nasty after one "go", and then it would just keep going, something that I didn't quite understand as a newbie to rendering.
At some point in 2013 the progressive nature of unbiased rendering finally clicked: more time = more good. After realizing that the pictures now looked even better (no more artifacts like light splotches from biased rendering, plus pretty anti-aliasing for free!) I would now render nearly every picture with Path Tracing. This of course meant much higher render times; I would leave my laptop rendering overnight and while away at school, pausing the render when I needed to do stuff and resuming it the next night. This racked up render times of 100h on several occasions ... that poor laptop (but it proves that no, your computer won't explode from ray tracing)
Anyhow, where Cornell Box??? Well, it was around the time I switched to unbiased rendering that I decided to Read More about rendering. I bumped into the concept of "Global Illumination (GI)", of which the Cornell Box is an excellent demonstration: two strongly colored walls and a light source in the ceiling, plus some objects placed within. With GI, the light bounces off of the colored walls and tints the objects. Without GI, there would be no bounced light and the parts of the objects not directly in view of the lamp would be 100% dark!
The cornell box above is the first one I ever made (i think). The objects within the box are Minecraft sheep because that's the sort of models I was making at that time (because boxy geometry is the One Thing that SketchUp actually handles well). I was inspired to make it from a picture on the wiki of the Minecraft level renderer "Chunky".
the Blender age (2015-present)
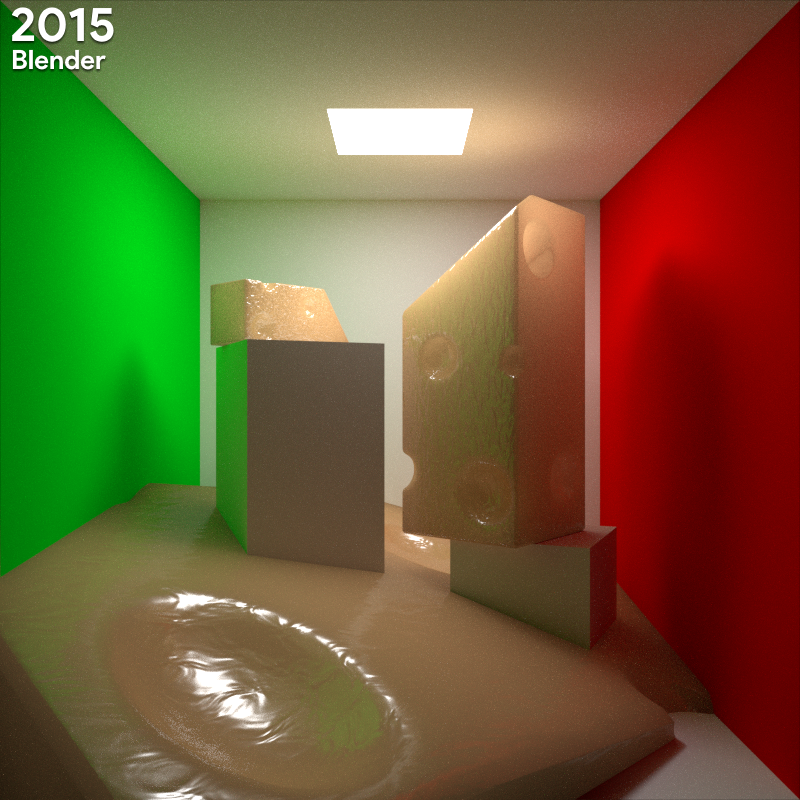
In 2015 I started the transition from SketchUp to Blender. Or well, that's not quite true. My first experience with Blender is opening it in 2011 with no guides or tutorials and being confused as heck trying to navigate the UI. Turns out, SketchUp hadn't fully prepared me for an actual™ 3D modeling suite; points were now vertices, components were objects, there was no handholding anymore.
I knew I had to move on from SketchUp at some point. I kept dipping my toes into Blender from time to time, because Blender had skeletal animation and that was necessary for making Epic Minecraft Music Videos (I didn't make any). After getting an actual PC with an actual GPU (GTX 760), suddenly Blender with its CPU+GPU Cycles render engine looked a lot more interesting!! And that's when I made the Cornell Box in the picture above, stuffing it full of cheese to test the subsurface scattering (it doesn't look very tasty).
Blender has been my main 3D software since 2016, and that's also the year I started making playermodel addons for Garry's Mod. I'd grab ragdoll models that existed on the workshop, contort them into an upright biped pose and transplant the half life 2 human skeleton into them. I learned a ton from this time because there wasn't a lot of tutorials available so I often had to trial & error my way to success, and I learned of a ton of things NOT to do (e.g. don't work on random models you get online if you value your sanity)
Making a single playermodel for Garry's Mod involves writing a text file specifying every detail about the model (its texture file paths, every facial blend shape, what animations it can use, all its jigglebones, its hitboxes, etc etc), and compiling it together with the mesh file into a model you can test. This takes time. And effort. And time. And then VRChat came along, being Playermodels: The Game
the VR age (2018-present)
Playing VRChat in desktop mode and seeing VR players actually move their heads and hands and juggling objects was what made me go "okay, I'm getting VR". Two expensive purchases later (GPU + Vive), I too was juggling items and having a LOT of fun.
After coming from Garry's Mod playermodels, the process of uploading a model to VRChat seemed too easy to be true! And models of other people would load in on the fly instead of having to subscribe to workshop addons in advance! wow! And! VR!! I never made another Garry's Mod playermodel ever again.
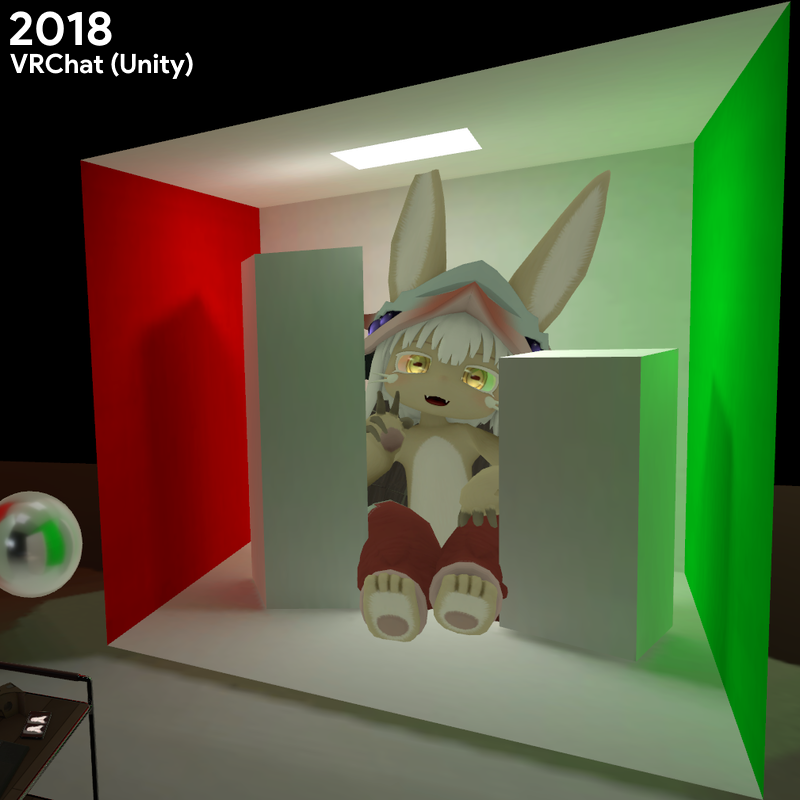
VRChat motivated me to try making my own character models, as the ability to become a character model in VR is really powerful (and cute). I also started making worlds that I could drag friends into, and the left picture above is from my first world uploaded to VRChat. It was mainly a test to see if things worked, and consisted of:
- A floor plane
- A bed
- A little cottage
- A billboard
- A cornell box
The reason I put a cornell box in there was to test the baked global illumination. I had noticed that some worlds in VRChat looked and performed nicely, while many others had terrible lighting, and I wanted to make Absolutely Sure that my worlds would be of the nice variety.
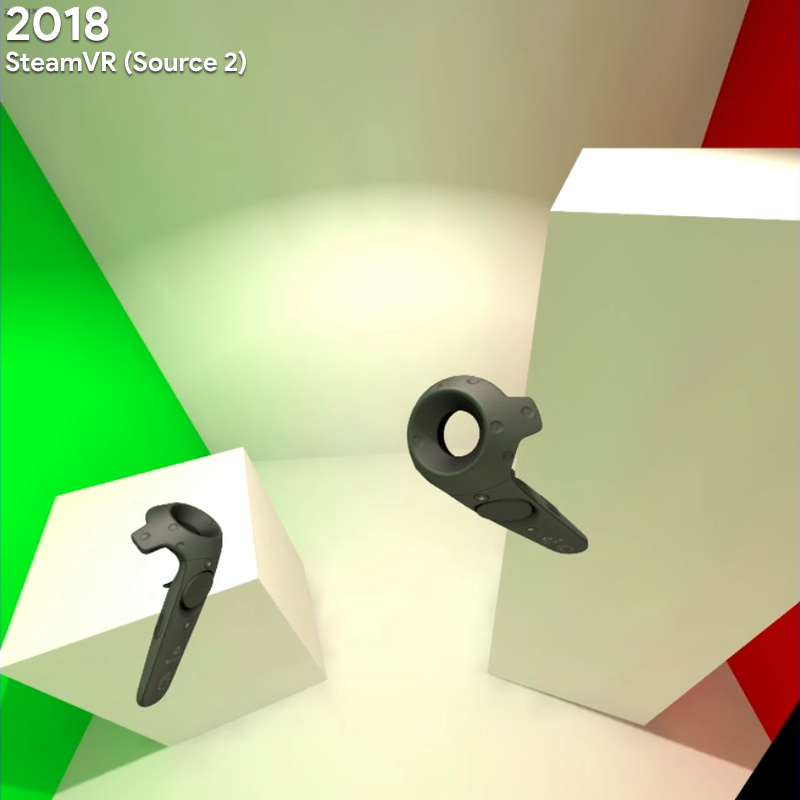
In addition to making worlds for VRChat, I did a tiny bit of dabbling with making environments for SteamVR Home, which is done in the source 2 hammer level editor. The cornell box in the picture to the right above is an example of such a SteamVR environment that I made.
the cohost age (2023-??)
and now I'm here on cohost dot org. I once again have a use for the stuff I learned in that one web dev class I took at uni: to commit css crimes, like the cornell box above!
tl;dr:
My first 3D modeling software and renderer was SketchUp and Kerkythea respectively. Eventually moved on to Blender which does both. Then got VR and made models and worlds for VR. Now I'm here. Cornell Boxes are neat.
I glossed over a lot of stuff that happened in the blender era, like the past 3-4 years where I started posting my size themed renders, or how I eventually studied computer grafix at uni, but interesting bits from that time will probably get their own posts in the future!