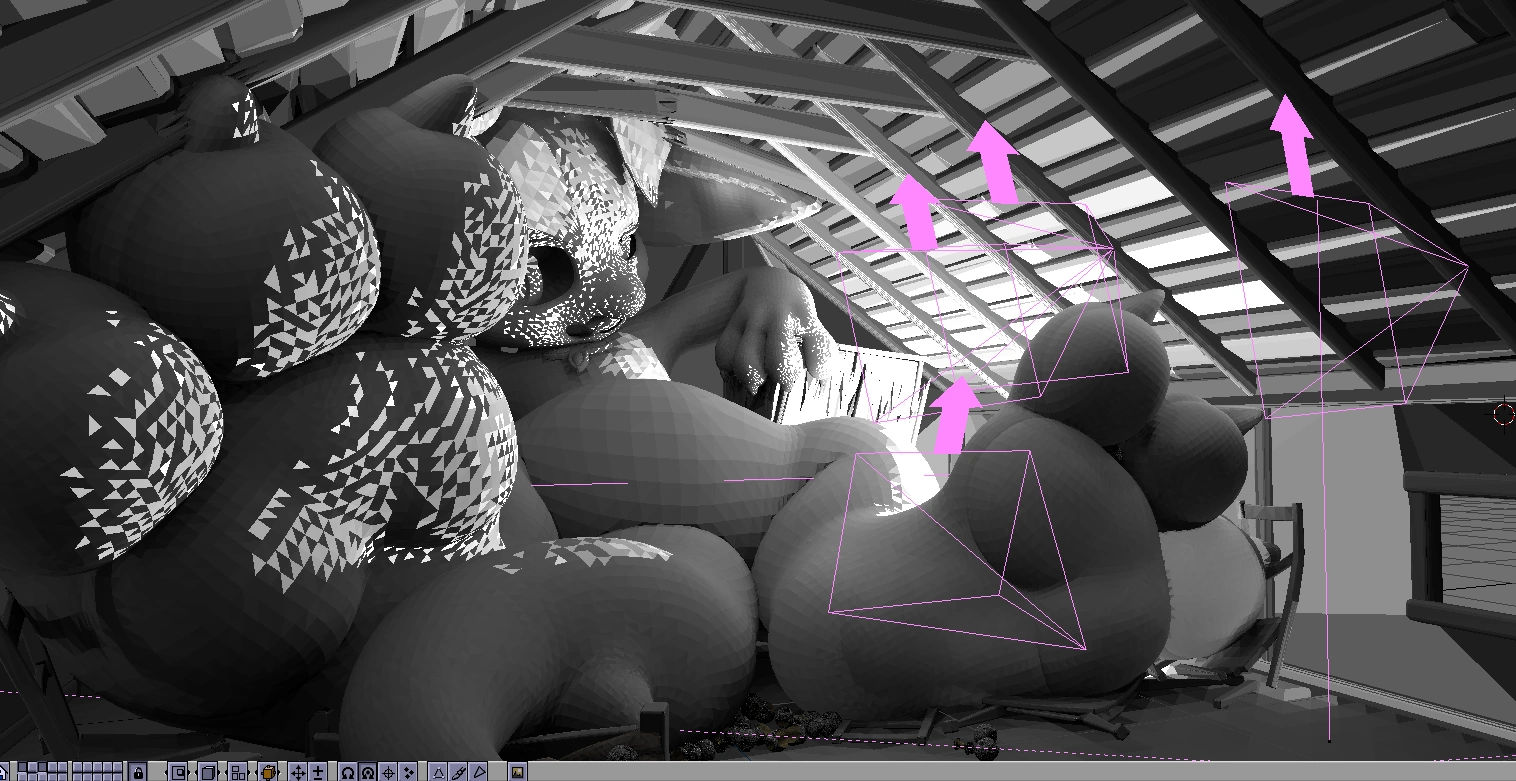
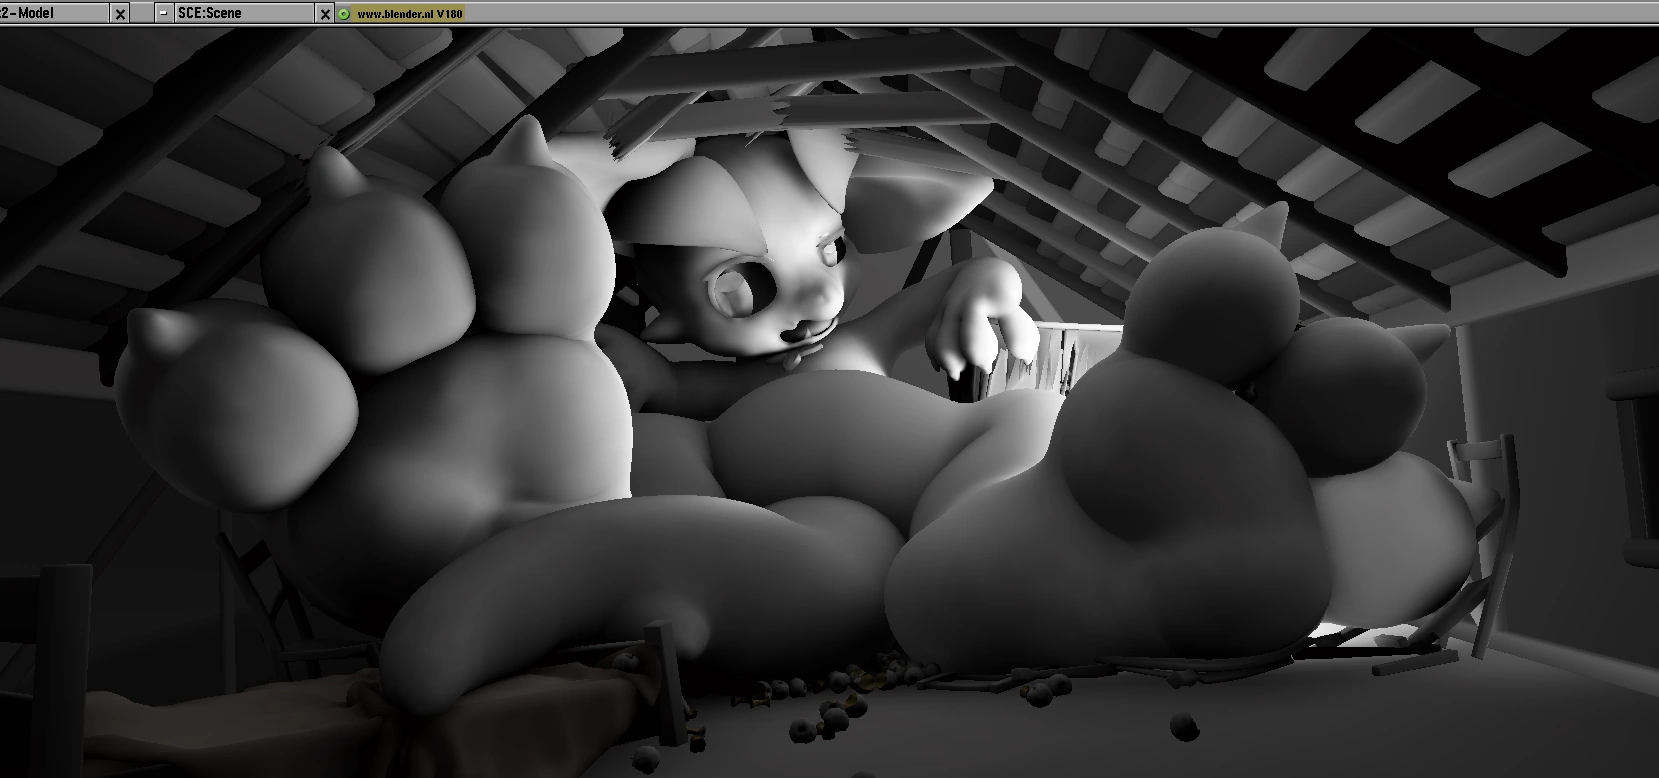
Rendering a modern blender scene in 1.80
2024-11-17I've been goofing around with Blender 1.80 for a bit this year, and the latest stupid idea I had was "what would it take to port a scene from current blender to old blender?". The answer would depend on what exactly you mean by "porting".
Time traveling a single character model is fairly doable, as it's only a few meshes and textures to deal with. Blender's forward compatibility means you can open new files in previous versions and still have most data intact - but only within a given range of versions. The problem with porting a scene this way is that any 'evaluated' data will be lost if the mechanism of that evaluation doesn't exist in the earlier version, some examples being geometry nodes, modifiers and armatures. Blender 1.80 doesn't have any of the three things mentioned above, meaning that if you port a scene by time traveling backwards through blender versions, you'll end up with T-posing characters and all your objects appearing as they are without modifiers (e.g. something that was given thickness with solidify will just be paper thin). Another issue with time traveling is that the format of materials changed between the old Blender internal renderer and Cycles, which means you have to set up the materials again manually.
For the reasons above, it is probably better to port the evaluated geometry of a scene into an interchange format and reading that into an older blender version. This will keep the geometry intact and skip most, but not all of the time travel hassle; a scene is more than just its geometry: it has cameras, lights and materials too.
Formats like FBX can store cameras and lights, but I haven't seen fbx importers for blender versions earlier than the 2.5x era, so I'll have to go with the good old OBJ which can be imported into Blender 2.42. The convenient thing with 2.42 is that its scenes can be opened by 1.80 and will generally work fine. But the cameras and lights will need to be time traveled more conventionally, but it should be a fairly quick run through the versions as there's no N-gon or mesh data to worry about.
The remaining problem is textures. Blender 1.80 has no PNG support, and pretty much all my textures are in PNG format. Some are higher resolution than what 1.80 supports, even. The solution is to batch convert all textures of the scene into either TGA or JPEG. Since Blender's old renderer predates PBR I probably won't bother with maps like roughness and normal: there would be no direct mappings for these. The normal map format also predates MikkTSpace so the materials would look horrible either way.
The plan, summarized
- Time travel just the cameras and lights backwards through blender versions,
likely hopping the 2.5x-4.x version gap through the copybuffer - Export an .OBJ of the scene from a modern blender version,
preferably after packing and unpacking the textures so they're all in one neat folder - Batch convert and downsize the textures into either TGA or JPEG,
and update the texture file paths in the .OBJ's .MTL file - Import the .OBJ into the time traveled scene (cameras & lights) in Blender 2.42
- Open the scene in 1.80
The scene
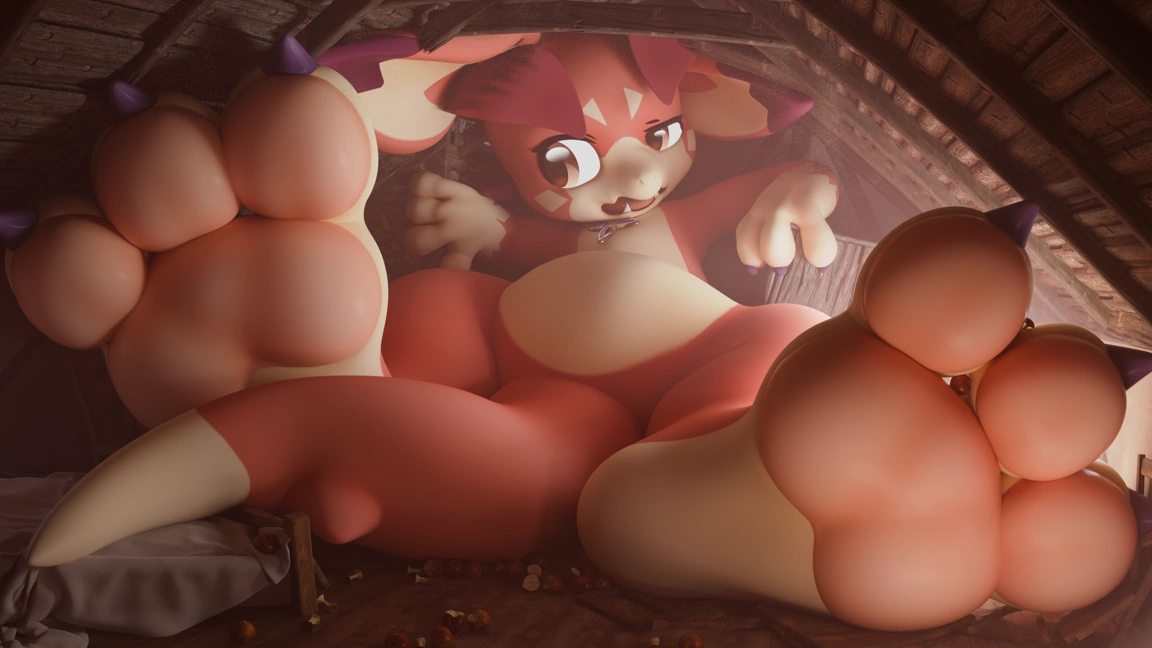
The scene I'll try this with is my recent one of Vyrn being big inside an attic, for a few reasons:
- It is a fairly small scene, with not too many different materials
- Almost all materials use image textures instead of being procedural
- It is entirely indoors, avoiding the need for background or any form of environment lighting
- It has volumetric fog, which 1.80 can achieve to a limited degree by using spotlight halo shadows
There are still going to be challenges of course, it uses an equirectangular panoramic lens to get a more pleasing projection of the scene, but it's not too far from the base perpsective lens. The main problem will probably be the lack of indirect lighting. Maybe I'll give radiosity a try?
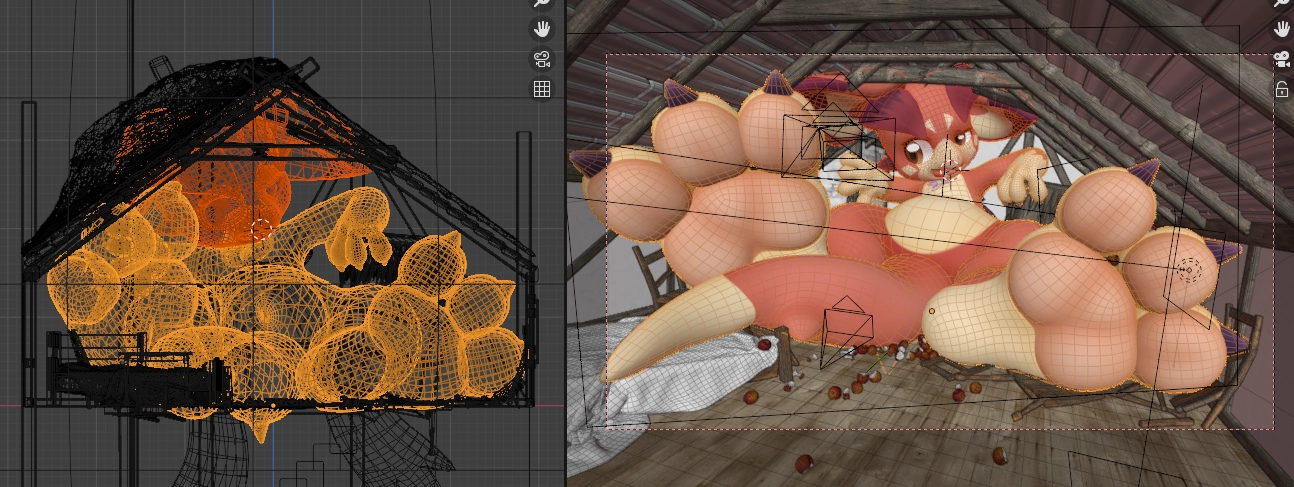
The scene has 99 visible mesh objects (47 of which are apples), adding up to a total of 1,267,556 triangles. Blender 1.80 can handle way more triangles than that. Each mesh in Blender 1.80 can't contain more than 65535 vertices, but there's nothing stopping you from having a lot of meshes.
I did a small stress test where I made a mesh consisting of 5 copies of a 100x100 grid, and then copied that object many times. With 512 of these objects, the total triangle count was 50,181,120, and the file was 775 MB when written to disk. It would only start to crash during runtime when going above 776 of the objects, but even a file with 760 objects would crash on load.
First hurdle: getting the obj across time
Exporting the OBJ is a breeze, importing it is a different matter. Blender 2.42 hitches on a
Traceback (most recent call last): File "", line 822, in load_obj_ui File " ", line 696, in load_obj File " ", line 170, in create_materials AttributeError: expected string or nothing as argument
The OOPS schematic shows that it managed to import 10 of the materials before it gave up. I tried importing the .obj in 2.79 and it had a similar traceback mentioning create_materials, but it managed to import 13 of them. I add a print statement to the obj import script in 2.42 and run it again.
  loading materials and images...
food_apple_01
VyrnEyes
medieval_wood
Vyrn
AppleBite
painted_plaster_wall
wood_planks_dirt
VyrnHihlit
castle_wall_slates
Mattress
None
Traceback [...]
I don't have any materials named "None", so it's the python equivalent of a NULL reference. I check the obj file and sure enough on line 3,948,597 there's a usemtl statement with no material name after it. I check if any meshes are lacking materials but all of them have at least one. But there is one Curve object without a material. Can you guess what the curve object is? it's the wood framing on the walls.
The wood framing was made with curves, because Geometry Nodes lets me generate planks along curves with a specific size and rotation, complete with properly oriented and scaled UVs. The one snag with curves is that you can't directly apply modifiers that generate mesh output to a curve object. Importing the obj back into modern blender reveals that there's now two wood framing objects, one with the proper material on it and one with a dummy blank material. Seems like the obj exporter doesn't quite know how to handle a curve object with geometry nodes on it.
But that's fine, converting the wood framework to mesh and exporting the obj, and it now imports fine into 2.42 (though I had to rename the object from BézierCurve as it was appearing as BA̋©zierCurve)
Second hurdle: the textures and geometry
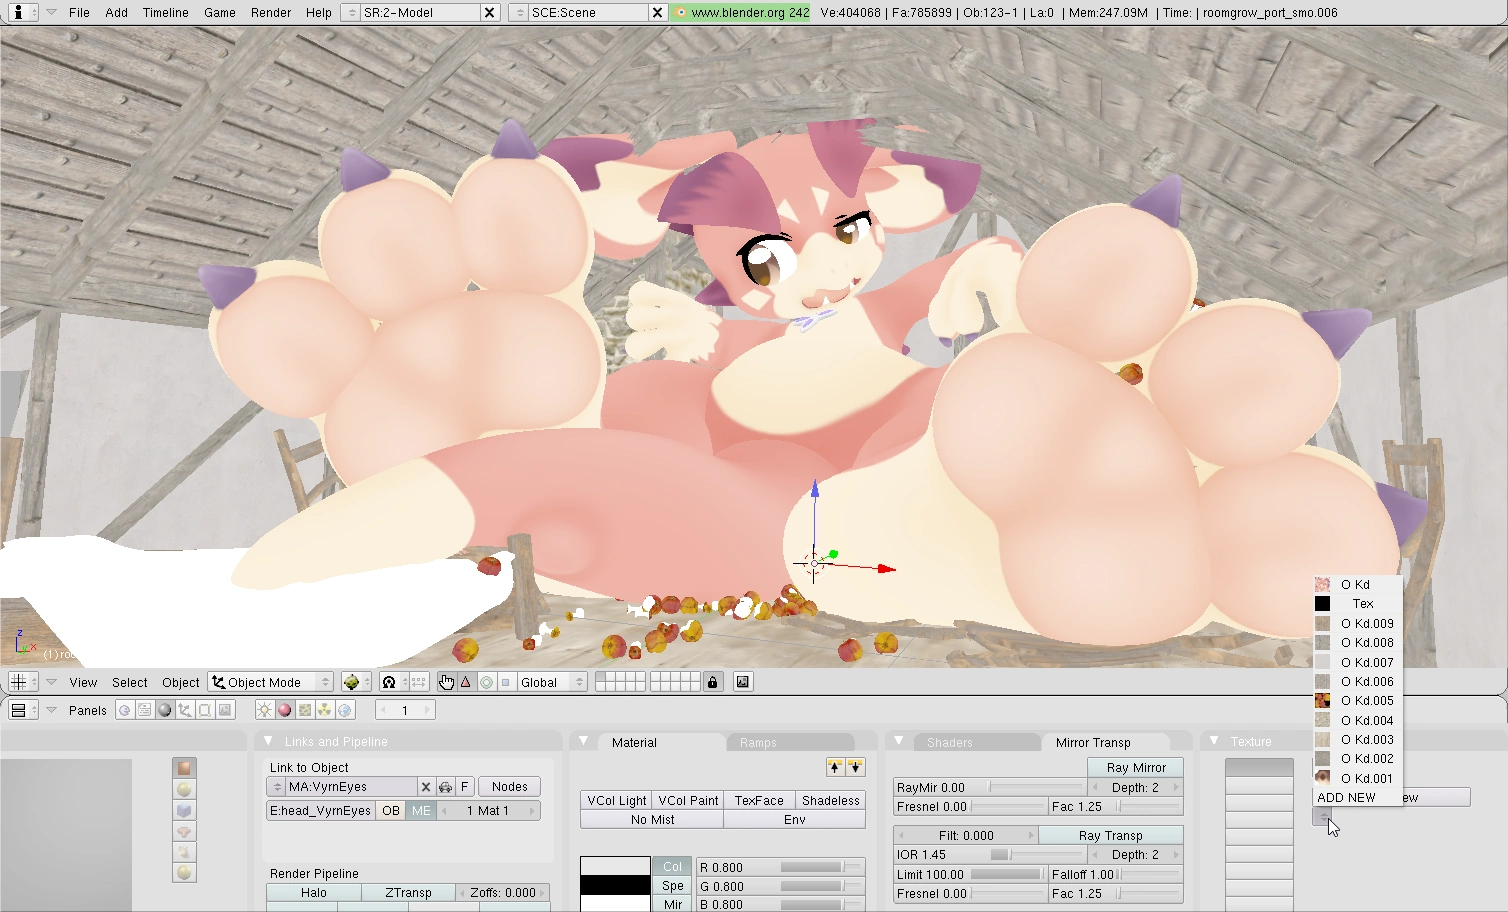
The polyhaven materials already use JPG for their albedo textures, and none of them are over Blender 1.80's limit of 2048x2048, so I only had to convert and downsize the body and eye textures. While the textures import fine in 2.42 and the textures show up in Textured shading mode, the texture datablocks are not linked to the actual materials, so a bit of manual work was needed here.
But after that, we're all set to open it in 1.80!
Except not so fast
Remember the vertex limit of 65535? Yeah I knew it would come up at some point, the Vyrn mesh was using two levels of subdivision so there was no way it would fit within the limit, but I was curious to see exactly how 1.80 would handle this, would it just crash? or would it-
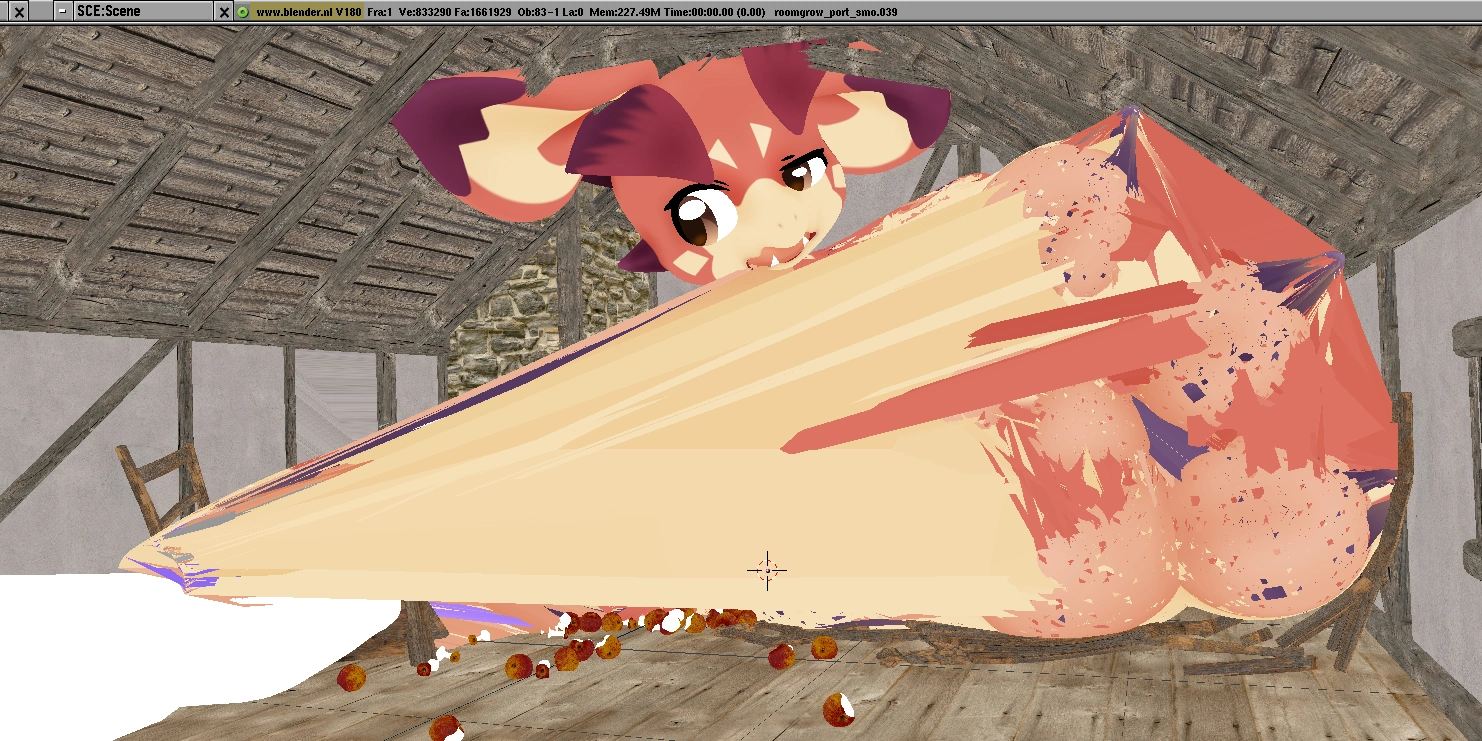
Yeah that makes sense actually. There's just as many faces as before, but since meshes max out at 65536 vertices, some of the faces are getting drawn between vertices they shouldn't be. Something something, overflow ...
The interesting part is that the vertices are still there, you can see them in Edit mode, but you're not allowed to leave. The vertex limit is likely only a limit for the underlying data structure, but it's fun to see that 1.80 can still read the vertices from a newer blendfile version without that limit, even if all the faces are garbled.
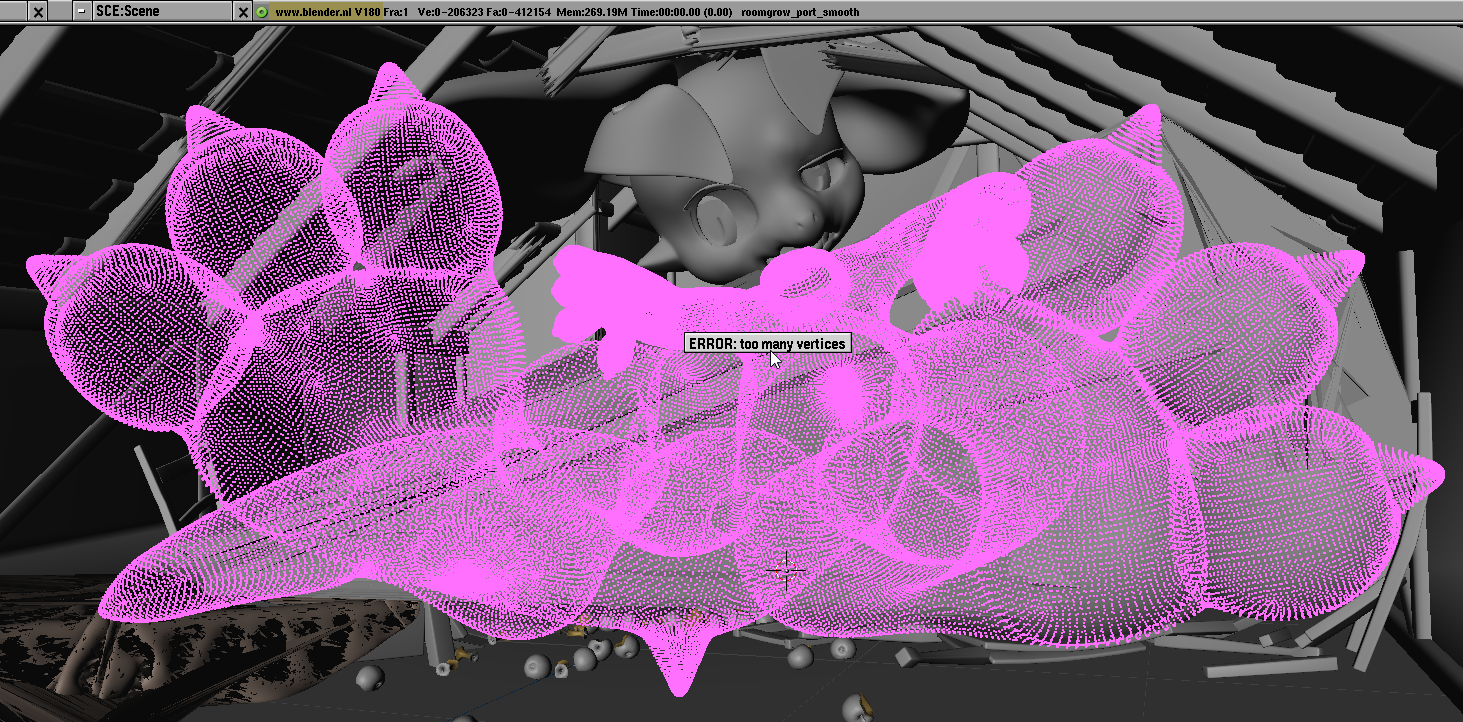
There's two ways to fix this: split the body into enough parts or to export a lower subdivision level. The lower subdivision level is the best choice here, as Vyrn's body mesh is already quite smooth with just one level.
The scene is now ready for 1.80, but there were some hiccups I didn't mention because they were more mistakes on my part:
- I imported the .obj into 2.43 first, which writes files that 1.80 is unable to read UVs from. But 2.43 imported the texture datablocks correctly linked, so I assumed 2.42 did so as well and then wondered why stuff wasn't showing up properly in 1.80 for a while.
- In one iteration, I adjusted some of the material parameters in 2.42 to make the eyes emissive, but this seemingly caused corrupted UVs when loaded in 1.80. It could also have been because i chose not to split the obj import by material. In the next iteration I left the material parameters alone and split the import by material, and the eyes worked fine in 1.80
- Solid shading would look fine, but wireframe had nothing drawn. This is fixed by selecting all objects and hitting the "SlowerDraw" button.
And with that we're actually ready to make a test render in 1.80, just to check if we have everything ready for the rest of the process. Placing a camera and point light confirms that yes, everything is in place. Now it's time to bring in the lamps and original camera!
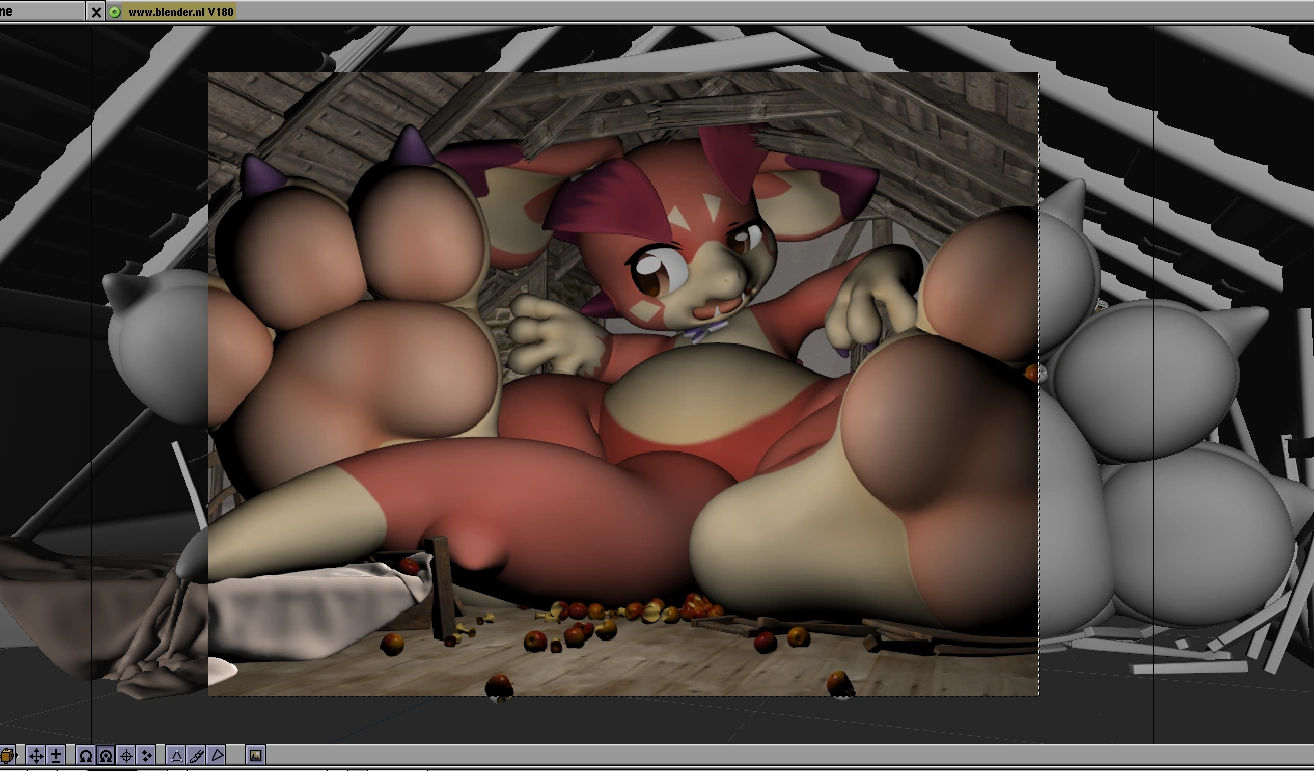
Lights, camera (no actions)
I isolate the 7 cameras and 3 lamps in the scene, and copy them to the copybuffer. Pasting them into 2.79 crashes it. Whoops. I paste it into a blank 4.1 file and realize that the light linking means the collection with vyrn and the apples also get brought along. After clearing the light linking collections they copy and paste fine into 2.79.
The 2.79 file loads up without issue in 2.42, then gets saved and can then be appended into the 1.80 file.
The challenge now is to fine tune the lights, because they are actually non functional out of the box. They have no lamp type set (they were area lights, which did not exist yet) so I set them to Spot and adjust their angles. They have no shadow buffer size selected, so I select the maximum.
I hit F12
Wow! It Looks Like Shit!
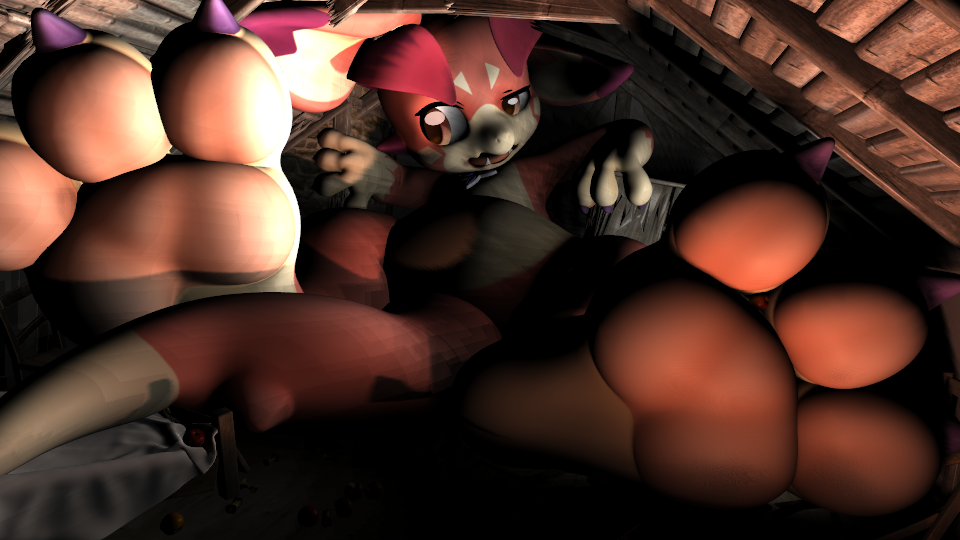
Yeah, that's to be expected when all you have is direct lighting.
Fuck it time to try radiosity
33 minutes later:
Radiosity is actually pretty nice, but it has some sad downsides like: Not Preserving Any Material or UV data. That's a pretty big limitation, as it means there's no way to render the textures with the pretty radiosity light bake. But we can do it in post!
Blender 1.80 has the video sequencer for post production, and a picture is just a very short video so we're allowed to use it for that as well. The channels or tracks in the sequencer can be thought of as layers, and you can use the blend modes multiply, add, subtract and some alpha overs.
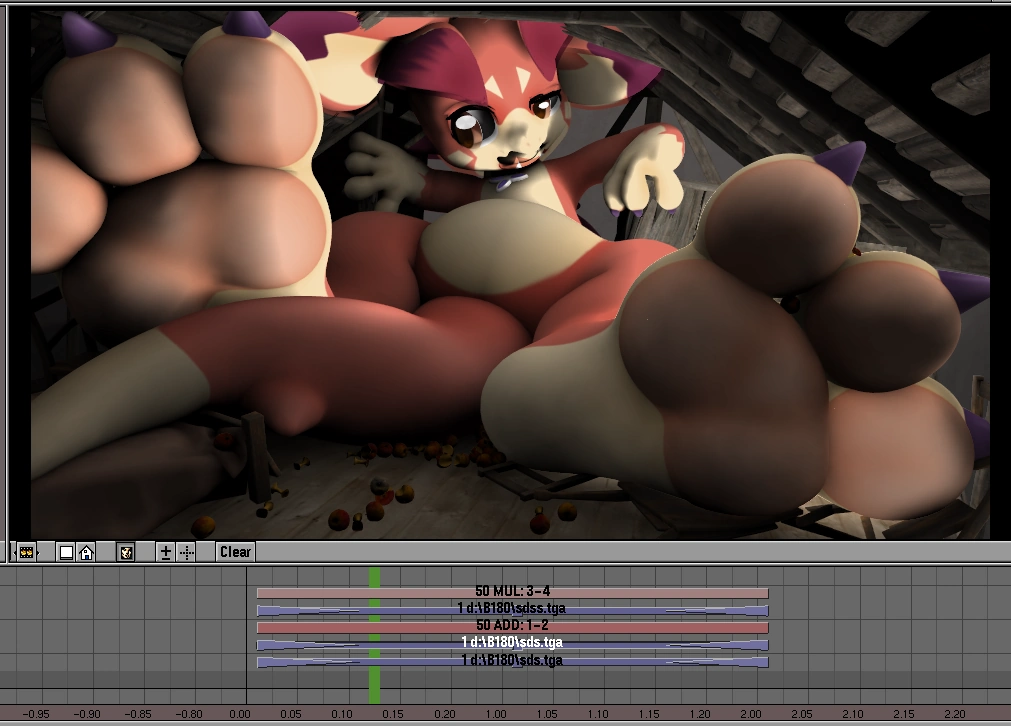
It definitely works, somewhat. But the light is very monochrome, as the radiosity doesn't care about the color of textures, only the material color itself. It would be possible to tweak this by adjusting the material colors so they match the textures, but then the radiosity "render pass" will be colored itself, and that won't work well for the multiply blend in post.
The best solution is probably a mix of a render with direct light, lit by strategically placed lamps, spots and hemi lights, then fullbright texture and radiosity blended in somehow. But I'll first try to make that render with strategic lights, as that's more like how you would actually light a scene back in old 3D software. Also because radiosity takes a while to solve on this scene (i think the apples are to blame)
Strategically placed lights
First up is to place a few spotlights in a sort of grid to emulate an area light. The shadows of spotlights can be softened, but this will not change where the light is coming from, so you still need an emulated area light if you want a large "light source". I then discovered that lamps can be set to only shine on objects in their layer, which is a kind of light linking! The downside is that they will also just cast shadows from and onto objects in that layer. Still, it helped a lot with lighting up Vyrn, as the modern scene was also using light linking to shine a lot of light on vyrn without too much spilling into the room.
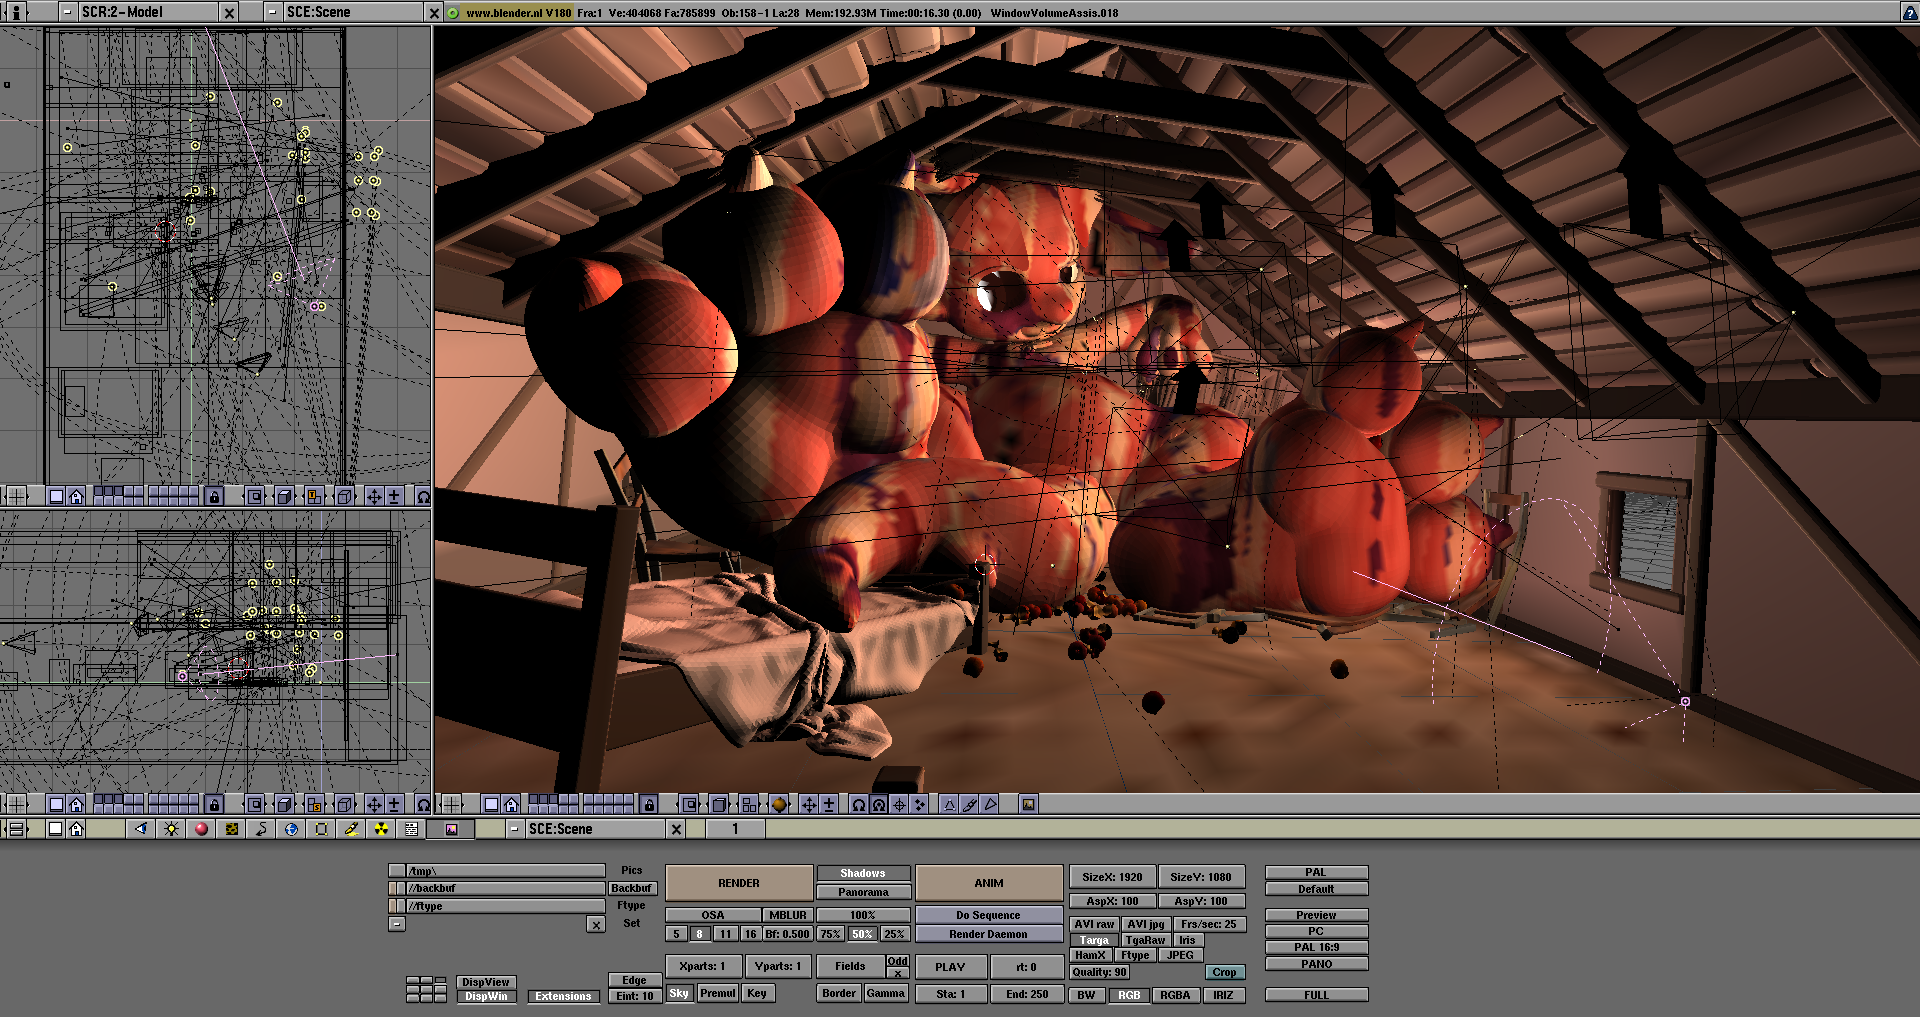
Since spotlights are the only light source that can cast shadows in this version, I used pretty much exclusively spots, starting with the areas in which the original area lights existed, and then adding more spots to emulate indirect light in key locations. There's a lot of parameters to adjust on spotlights, with the most important ones being the energy (power) of the light, its shadow softness and the shadow near and far clip. The shadow buffer has limited precision and keeping the clip distances tight will give you the best results. You might also need to adjust the bias if you have small details that lack shadows.
After a good while of placing lights and tweaking parameters, I was happy enough with the result. It's far from the original, but it's a lot better than the first 1.80 render. Some areas are overexposed, there's no HDR or tonemapping available here but it could be fixed with careful adjustments of the world exposure slider and the spotlight energies, but I was getting sick of iterating so this is as good as it got.
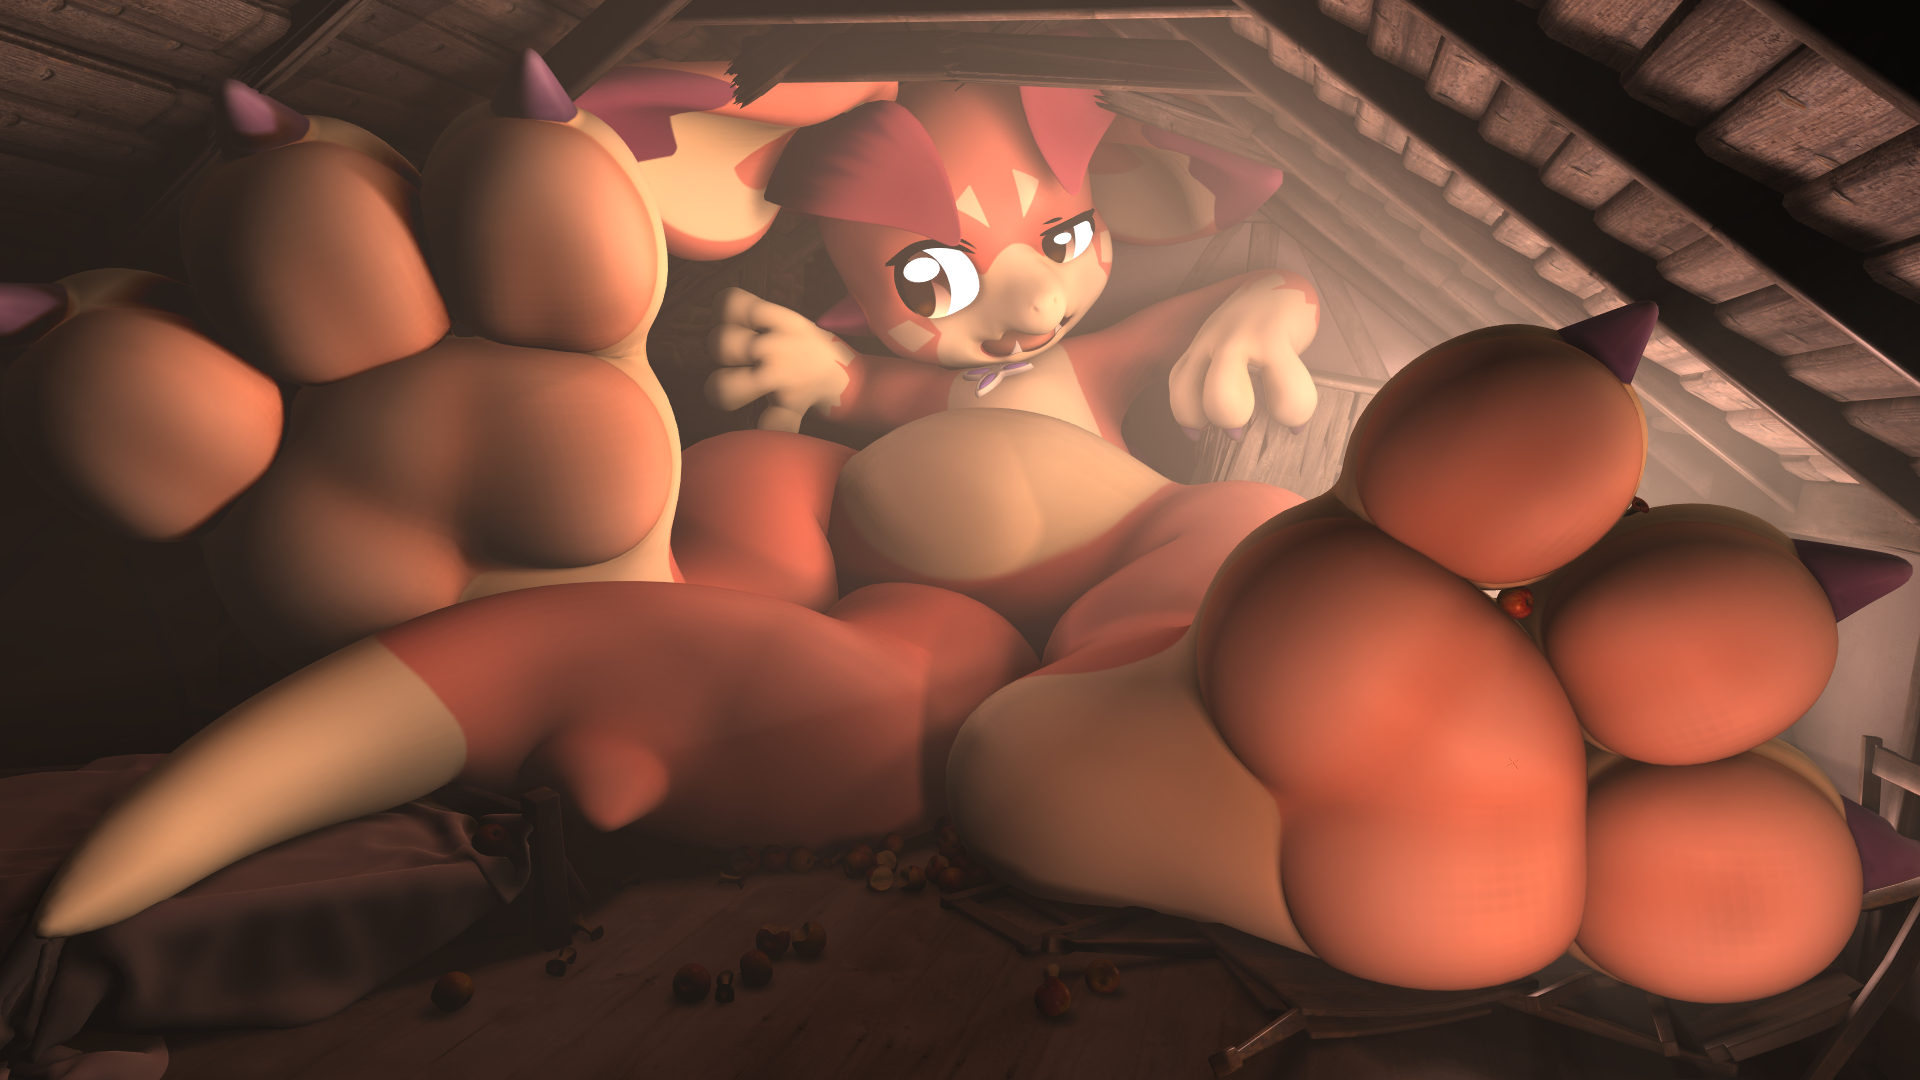
but why tho
Good question. I guess I just like to try Stupid Shit in Blender 1.80. Anyways, the things you could learn from this post, summarized:
- Blender 1.80 has a 65535 vertices per mesh limit, but can handle millions of triangles in separate objects
- Meshes with no material assigned may cause problems on .obj import in older versions
- 2.42 can be used as the gateway to 1.80
- you can make a really clumsy radiosity "render pass" and blend it with an "albedo pass" all within 1.80
- with enough spotlights you can fake your way to a somewhat indirectly lit scene
- blender 1.80 has a simple form of light linking
- this all is probably not worth the hassle
